I’ve been facing a lot of software issues regarding to software, development kit and systems. Not everyone will face the same problem and although it can be searched by google, for some of the issues, even with the help by google I still spent a couple of afternoons and evenings figuring them out. So I mark some of the solutions here, hopefully it can help someone who gets here by searching some specific problems.
As a lot of different issues are involved, it will be tedious if I write an article for every single issue, I prefer listing all of them down in this article.
近期疲于折腾,遇到了不少问题,虽然很多问题并不是大多数人都会遇到,虽然google也都能找到,但有些问题借助google也花了一整个下午或晚上才解决,mark一下,或许也会对人有所帮助。
由于涉及的问题很多很杂,每一个问题都写一篇文章似乎也没有必要,所以就在一篇里全部说完好了。
Split / Concatenate Videos 视频拼接:
If you also have the demand of splitting/concatenating videos. Using ffmepg (!!! not editing!!!) is a clean and fast way. If you have ever used any editing software to do such simple splitting or concatenating jobs in Windows, I believe you have suffered from it more or less. Even without transcoding or editing, it still takes a long time to finish. In ubuntu, you can easity install it from repository. If concatenating videos, please keep it mind all the video snippets have the same format, resolution, as well as the audio/video bit rate.
如果你也拆分/合并视频的需求(注意,不是编辑视频),使用ffmpeg能够非常方便快捷地做到,无需借助任何视频编辑软件,用过一些视频软件做这种简单操作的人应该也懂得,即使只是简单连接或者剪切,都耗时特别长。在ubuntu中使用apt-get可以很方便安装ffmpeg
Splitting | 剪切:
ffmpeg -i input.mp4 -ss <START_TIME> -t <STOP_TIME> -codec copy output.mp4
START_TIME/STOP_TIME Format :
- by seconds: 80
- HH:mm:ss: 00:01:20
Concatenating | 拼接 :
We need to prepare a text file to list all the files those need to be merged. Here is an example of the list.txt:
拼接的情况稍微复杂些,我们需要将需要拼接的视频文件按以下格式保存在一个列表 list.txt 中:
file ‘/path/to/file1′
file ‘/path/to/file2′
file ‘/path/to/file3′
Run:
ffmpeg -f concat -safe 0 -i **list.txt** -c copy output.mp4
As it is not transcoding, these two commands (for splitting and concatenating) can be done almost instantly.
由于不需要重编码,这两条命令几乎是即时完成的。
Auto mount network drive in Windows 10 when startup. Win 10中开机无法自动挂载网络磁盘
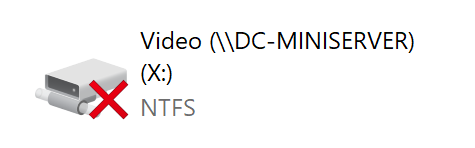
I believe it is pretty straight forward to map a network drive in windows file explorer. But I find it is not always automatically mounted whenever booting the system. It mounts only when you double click it. I want to call rsync commands to sync some folders by calling batch script (.bat) in windows’s built-in schedule job. I need the network drives to be auto mounted in order to do so.
So how to do it? Very simple !
我相信如何在“我的电脑”中挂载网络磁盘已经非常简单明了, 我就不赘述了。但是用过的人可能会发现,每次启动系统的时候,磁盘并不会自动挂载,而是显示叉叉,只有当你双击打开的时候才会被挂载。而我恰好有需要每次启动系统的时候通过系统自带的计划任务调用批处理命令(.bat)来执行rsync命令同步一些文件夹,因此我希望每次系统启动时,磁盘都能自动挂载,否则就会影响同步操作。
那么该怎么做呢?
net use x:
Add the line above to the batch script before syncing commands.
在原本需要被调用的批处理文件中,执行命令前加上如上指令。(那么如何利用windows计划任务在系统启动的时候自动执行脚本呢?)暂时不在本文讨论的范畴。我假设在已经懂得使用windows计划任务运行一些简单指令的前提下,才会需要使用到这个小技巧。
A serious issue about the BitLocker when running dual OS. 运行双系统时可能会遇到的BitLocker问题
Assume you
- have a laptop on hand and have enabled secure boot; and
- have enabled Windows BitLocker (disk encryption) for C: drive (system drive); and
- need to install Ubuntu (or whatever distro of Linux) alongsie with Windows 10
Then you might suffer from such annoying issue soon or later.
When you have ever sucessfully installed Ubuntu alongside with existing Windows 10, you may notice Ubuntu has done pretty well with the dual OS boot. Most of the time, it’s perfectly compatible with Windows boot. It adds an entry for booting from Windows in Grub 2.
Wait! Is it done with the conversation? Where is the problem?
I was trying to install another Kubuntu in the USB M.2 SSD. I was very careful with all the setup steps, and I was pretty sure I chose the right disk to write the Kubuntu into. But after the quick and successful installation of Kubuntu, my original Linux Mint doesn’t boot any more. The installation must have messed up some steps and wrote the BOOT program into the wrong disk. So I have use a USB Live Ubuntu Drive and run boot-repair to restore BOOT for my Linux Mint.
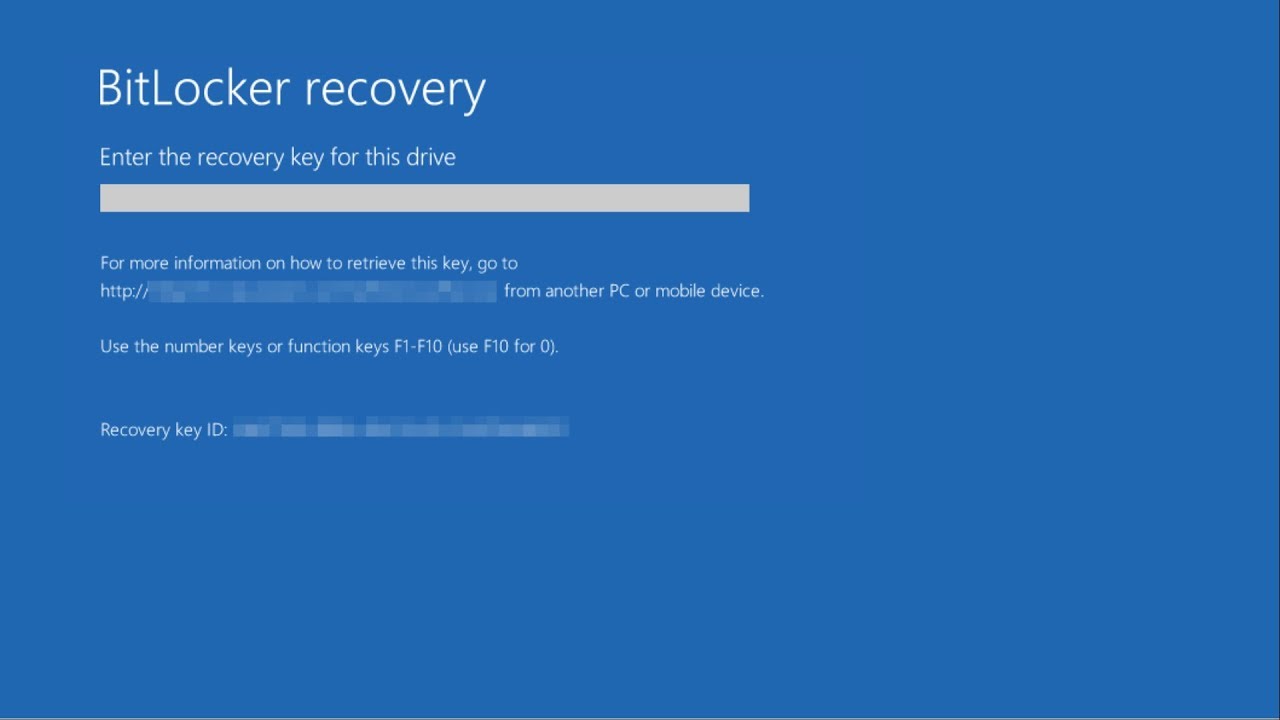
After a few steps with boot-repair, Linux Mint can boot normally now. However, there is something wrong with the Windows 10. It keeps asking for entering recovery key to unlock the disks everytime I reboot.
如果你
- 正在使用笔记本电脑或者品牌台式机并且开启了安全启动Secure boot
- 并且对系统盘(也就是C盘)开启了windows自带的加密功能BitLocker
- 并且打算安装Ubuntu+windows 10双系统
那么你有可能也会遇到与我相似的情况。
如果你在已有Windows 10的电脑上成功安装过Ubuntu,你可能会发现,Ubuntu其实在双系统启动方面做的非常好,几乎大部分情况下它都能完美兼容Windows 10启动,安装完成后,Ubuntu会在Grub 2启动选项中加入Windows 10的启动选项。
那么问题在哪里呢?
我曾试图往USB M.2 SSD 中写入一个全新的Kubuntu系统,安装的每一个步骤我都非常仔细确认过,我非常肯定我选择的磁盘是USB SSD 而非电脑内置SSD,可是在快速成功的安装完Kubuntu之后,我发现我电脑中原本的Linux Mint系统无法启动了,Windows 亦然。想必一定是安装Kubuntu的过程中,安装程序在某一个步骤搞砸了,把引导程序写入了我内置的SSD中。于是我不得不在USB Live Ubuntu系统中,利用boot-repair修复系统的引导程序。
并且能够成功启动引导Linux Mint了。可是,Windows 10却出问题了,每次重启进Windows的时候,都会出现以下的画面提示我输入BitLocker的恢复码。
This is extremely annoying. There are two solutions.
Case 1:
If booting from windows uefi bootloader directly(not from Grub 2), and it still keeps asking for recovery key,
Run the following in windows:
manage-bde -protectors -delete c: -type tpm
manage-bde -protectors -add c: -tpm
After restarting, hopefully you won’t see that annoying blue screen.
Case 2:
If booting Windows from Grub 2, and it keeps asking for the recovery key.
Theoretically this case is completely avoidable. Just make sure when you use boot-repair to fix the boot, it may ask you to install package shim-signed . You need to install it correctly. Don’t ignore it.
This is important that it signs the boot loader with ubuntu official signature, so the secure boot can trust the the boot loader.
Use boot-repair to regenerate bootloader
When booting windows from grub, it may ask for recovery key.
Press ‘Esc’ to enter BitLocker Recovery mode
Input the recovery key, it won’t ask again.
分为两种情况:
情况1:
如果只是从Windows 的bootloader中启动(非Grub 2),而无限询问BitLocker还原码时,
在Windows的命令提示行中运行以下指令:
manage-bde -protectors -delete c: -type tpm
manage-bde -protectors -add c: -tpm
重启后,理论上讨厌的蓝色屏幕应该会消失了。
情况2:
如果是从Grub 2启动Windows出现无限询问BitLocker还原码时,很有可能世由于Grub 2中的引导Windows的程序出现了问题,被Secure boot认为是异常启动。
其实这种情况是完全可以避免的。你所要注意的是当你在用boot-repair修复系统引导的时候,boot-repair会让你运行一些指令,其中有一个包 shim-signed 有可能出现问题,但是不要像我一样掠过它。虽然略过它引导依然能够修复,但是后果世生成出来的Grub 2引导windows的程序没有获取ubuntu官方的数字签名,以至于每次启动windows的时候,都会被windows误以为不安全。
如果你出现了此类情况,那么需要用boot-repair重新修复一下引导,再下一次启动windows被索要还原码时,按Esc进入BitLocker还原模式,输入还原码,之后应该就不会再出现了。
Ubuntu Login Screen is Black(or Blank) | Ubuntu的登录画面黑屏
I was installing a lot of different desktops for Kubuntu. Afterwards, I uninstalled them all. Somehow, my Kubuntu Plasma doesn’t show login screen any more. But I didn’t uninstall Plasma.
It might be sddm that is uninstalled by running apt-get autoremove.
Run the following to fix it:
sudo apt-get install –reinstall sddm
sudo dpkg-reconfigure sddm
由于之前我为Kubuntu试装了好几个桌面系统,之后又全部删除了,仅留下了Kubuntu预装的Plasma。但是诡异的是Plasma的登录页面黑屏了。我猜世sddm被apt-get autoremove误删了。
运行以上指令便可以恢复正常了。
ASRock WOL(Wake-on-Lan) issue | 华擎主板网络唤醒WOL问题
ASRock motherboard has already enabled the WOL feature for its network adapters. But I still have some trouble with this feature. After trying many different attempts, the following steps helped me sort it out.
Go to BIOS setting, swithc to ‘Advanced Mode’ and navigate to ‘Advanced page’, select ‘ACPI Configuration’, change ‘PCIE Devices Poower On’ to Enabled. It should work.
华擎主板通常情况下已经默认为网卡开启了网络唤醒功能。但是我依然无法通过网络唤醒开机。在经过了无数次不同的尝试之后,以下的步骤帮我成功解决了这个恼人的问题。
进入主板BIOS 设置, 进入高级模式,切换至高级模式并且进入高级页面,选择‘ACPI Configuration’ 选项,更改 ‘PCIE Devices Poower On’ to 启用。
Hope this can help all the people in need in the shortest time. (If google can rank this up).
希望这一些小技巧能够快速帮助到有需要的人(如果Google能给予高ranking的话)
